Cara Membuat Header Twitter Keren
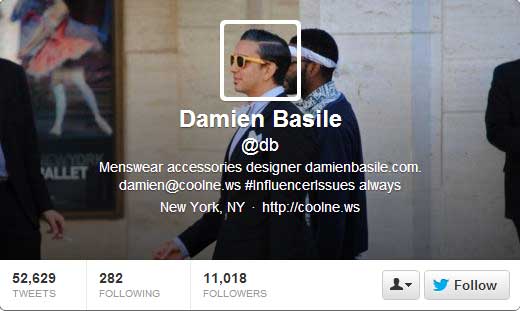
USE OF SELF PORTRAIT
Select your best photo and align it properly to with the avatar.@Rosen

@RyanSeacrest

@db
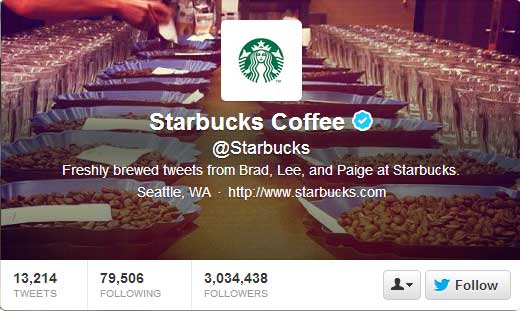
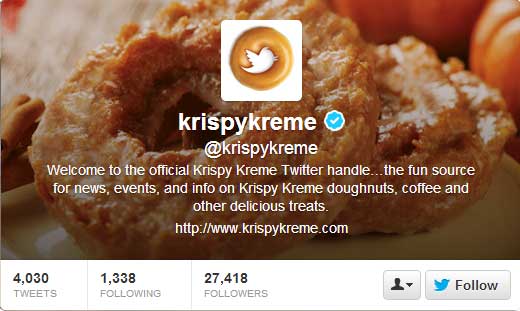
BRANDING
Select the best product you own and showcase it.@Starbucks
@krispykreme
@PlayStation

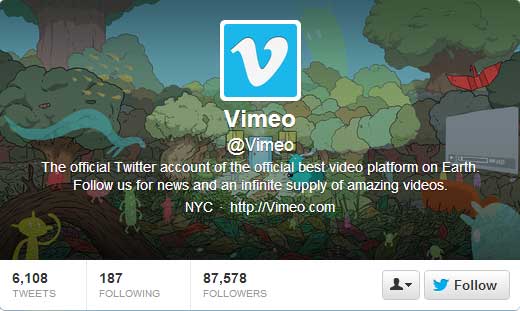
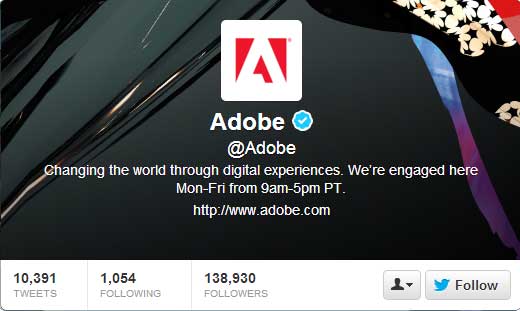
VECTOR ILLUSTRATION
Using Vector art is always good to look at.OrganikSEO

@Vimeo
@Adobe
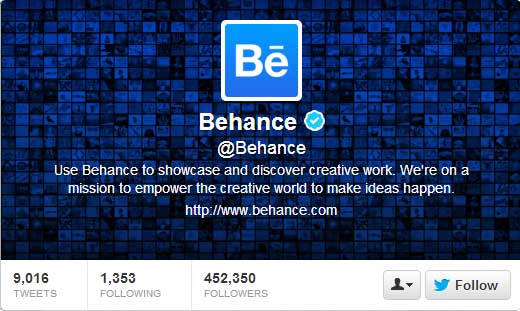
DARK BACKGROUNDS
Dark background makes the avatar picture and text pop ups more.@VandelayDesign
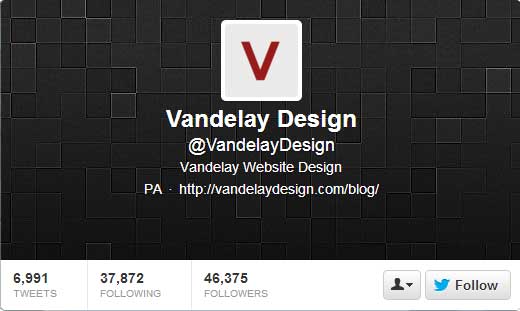
@wpbeginner
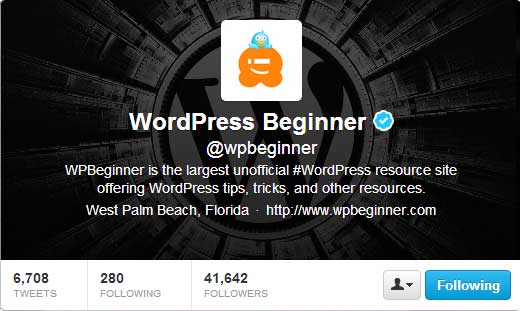
@Behance
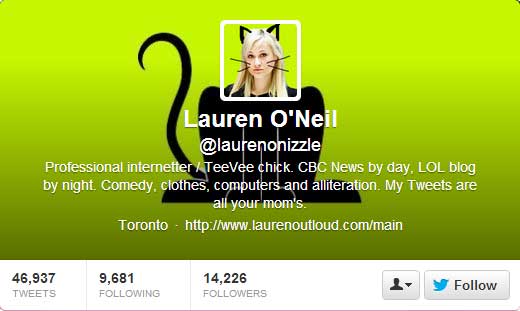
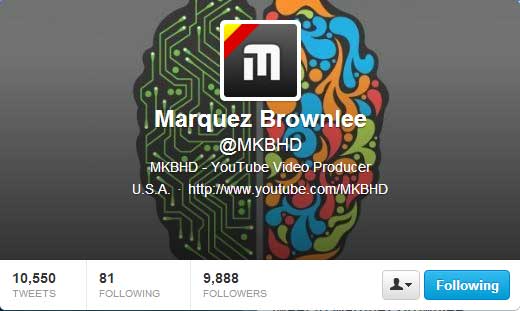
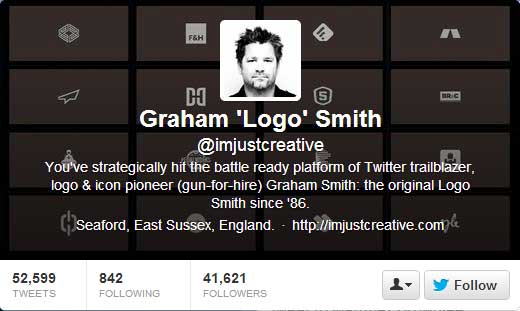
CREATIVE
Very creative how they present their interest by the use of illustration.@laurenonizzle
@MKBHD
@imjustcreative
Make it Simple
@SocialNorth

Now that you’ve seen some inspiring Twitter Headers, let’s create your very own Twitter header. See below how I created my own Twitter header.
CREATING THE CUSTOM DESIGN
Step 1
Open Photoshop and create a new document 520px by 260px.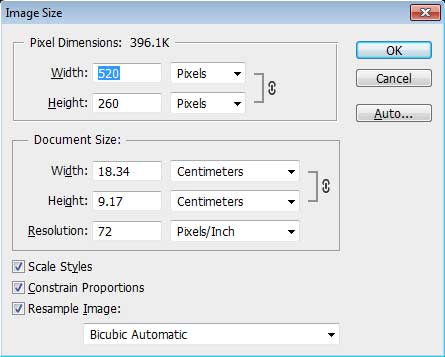
Step 2
Let’s setup a guideline where our block will end. To do this go to View – New Guide. Set the value to 180px and make sure you select Horizontal.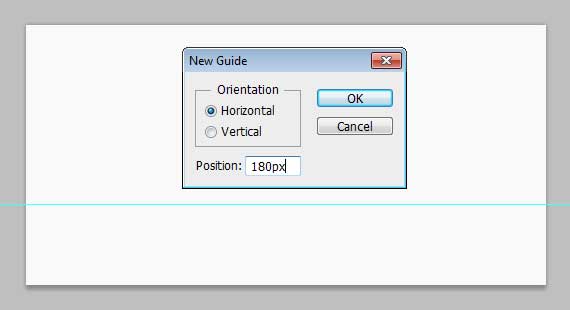
STEP 3
Now let’s create the blocks. Using the Rectangle Tool(U) create a 11px by 11px shape, place it from the top and downwards for the guideline and make sure each block has a distance of 5px. Also adjust the positioning as shown in the screenshot below.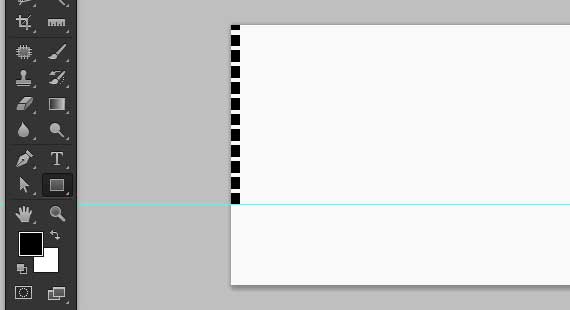
Step 4
Duplicate all the blocks until you reach far right.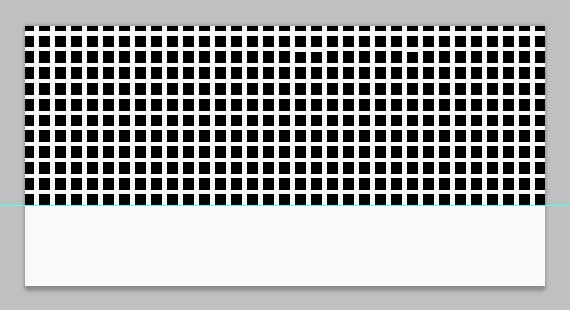
Step 5
Now that we have all the blocks in place, time to change the colour of each block. The goal is to suit your current twitter background. What if we choose three colours from the existing background? I took two colours from 1WD’s logo and a one colour a little lighter than dark grey.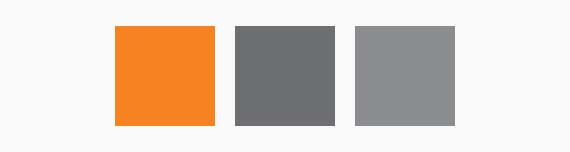
- #f58220
- #6d6f71
- #8a8c8f

STEP 6
Continue filling the boxes with colours until you fill them all. Once you’re done, you should have something that looks like in the screenshot below.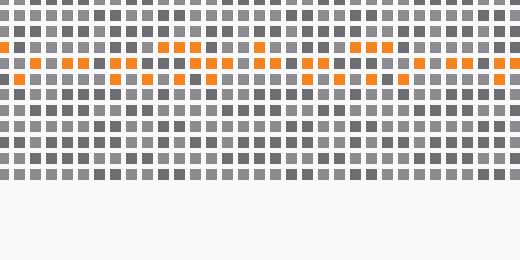
STEP 7
It feels like it’s a bit boring that it has the same number of blocks in each columns. What if we remove some blocks on the top and bottom? Let’s try it.
STEP 8
Twitter will automatically darken up bottom part of the image about 50% – 60%. In this case, 60% of our design will not be enough to make the text pop up more.How it looks when we upload it on Twitter.
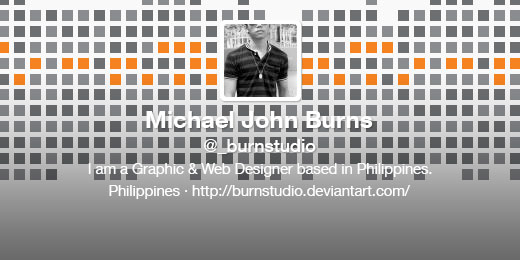

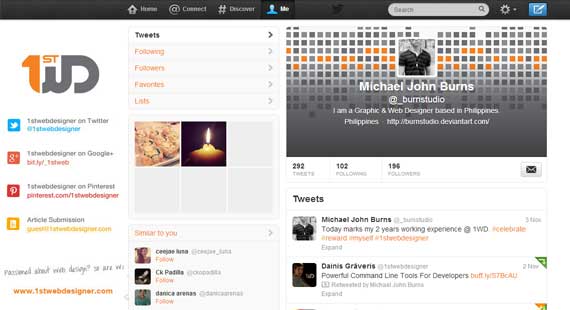
How it looks when I uploaded it to Twitter.
HOW TO SET YOUR TWITTER HEADER
Click the settings icon and choose settings from the drop down menu.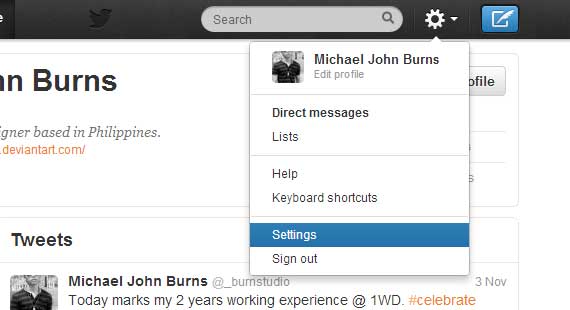

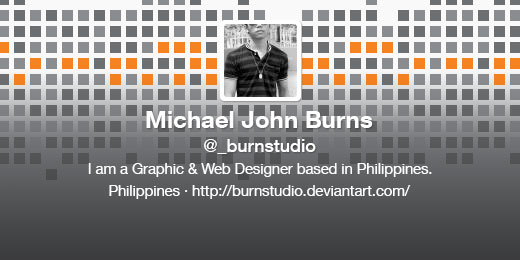
When you look at your profile you will see how great it is :P
nice share gan :)
BalasHapuscara mention